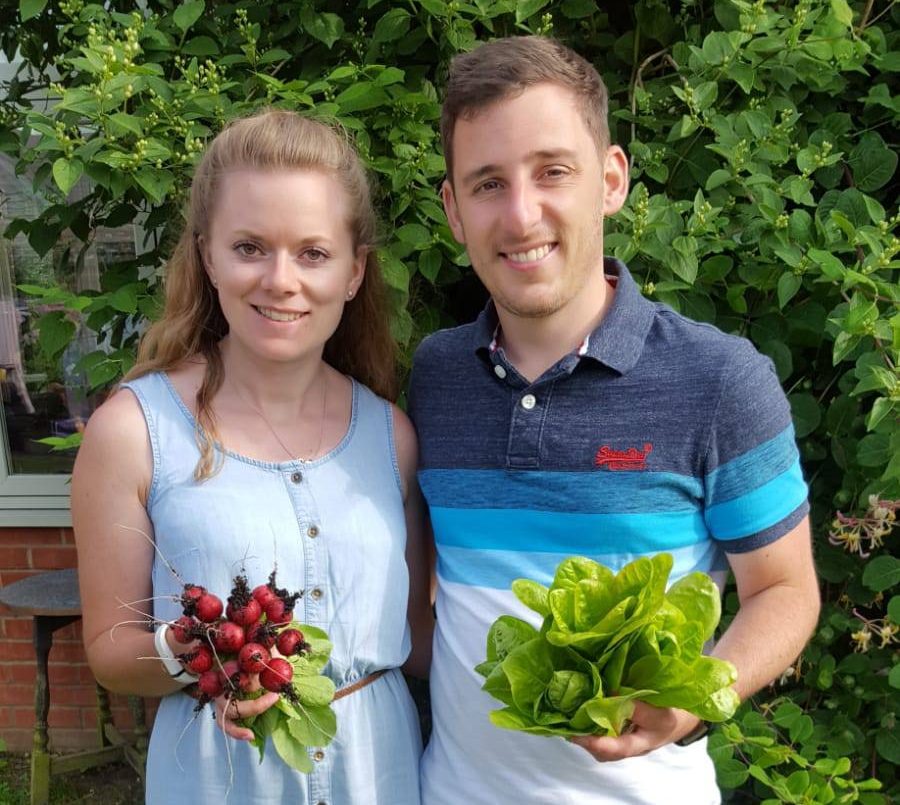
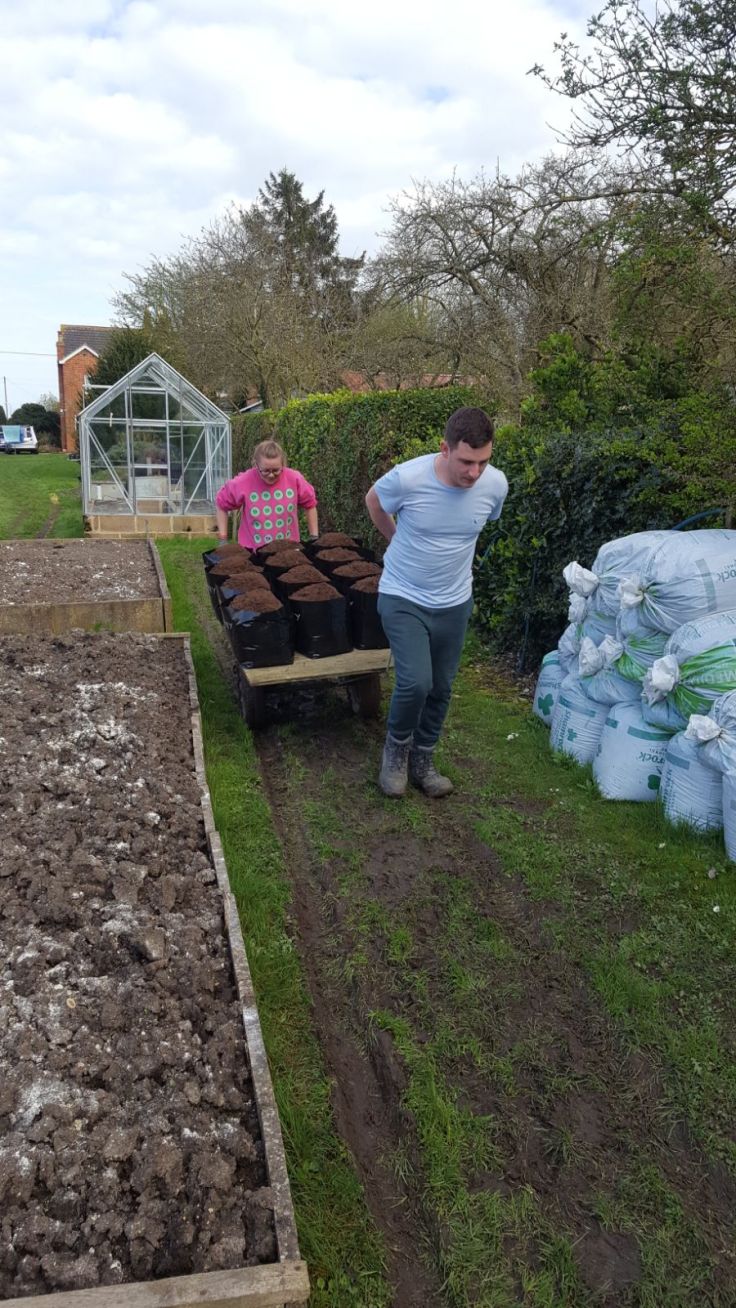
On Monday, we were all helping to plant the annual crop of potatoes in the Plumb Garden. Although the Plumbs grow a lot of potatoes (as seasoned growers and exhibitors), the same methodology can be applied whether you’re planting 1 or 100!
Instead of planting the potato tubers directly into the soil, the Plumbs plant their potatoes in a compost mix in polypot bags. This tends to give the potatoes a better skin finish (if you want to exhibit them or even if you just prefer your potatoes to look nice when you cook them!) and also makes them a lot easier to harvest – as you just lift each polypot bag and tip it out rather than having to root all around a bed of soil trying to work out how far the potatoes may have spread their roots.
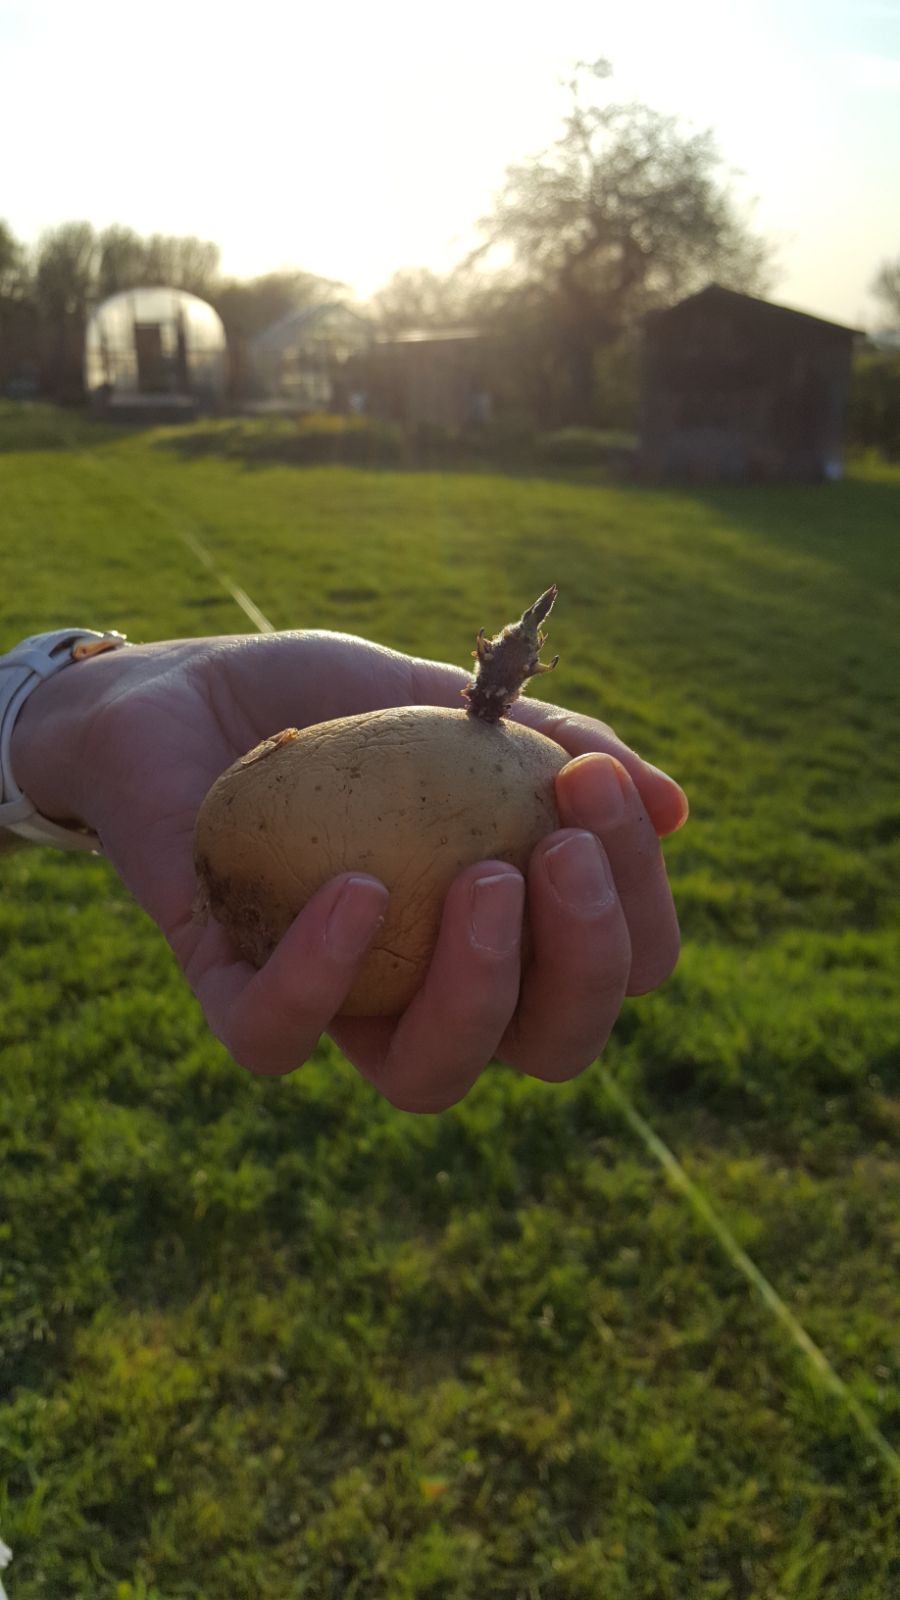
We also planted our own Kestrel potato in a pot.
Sowing a Potato.
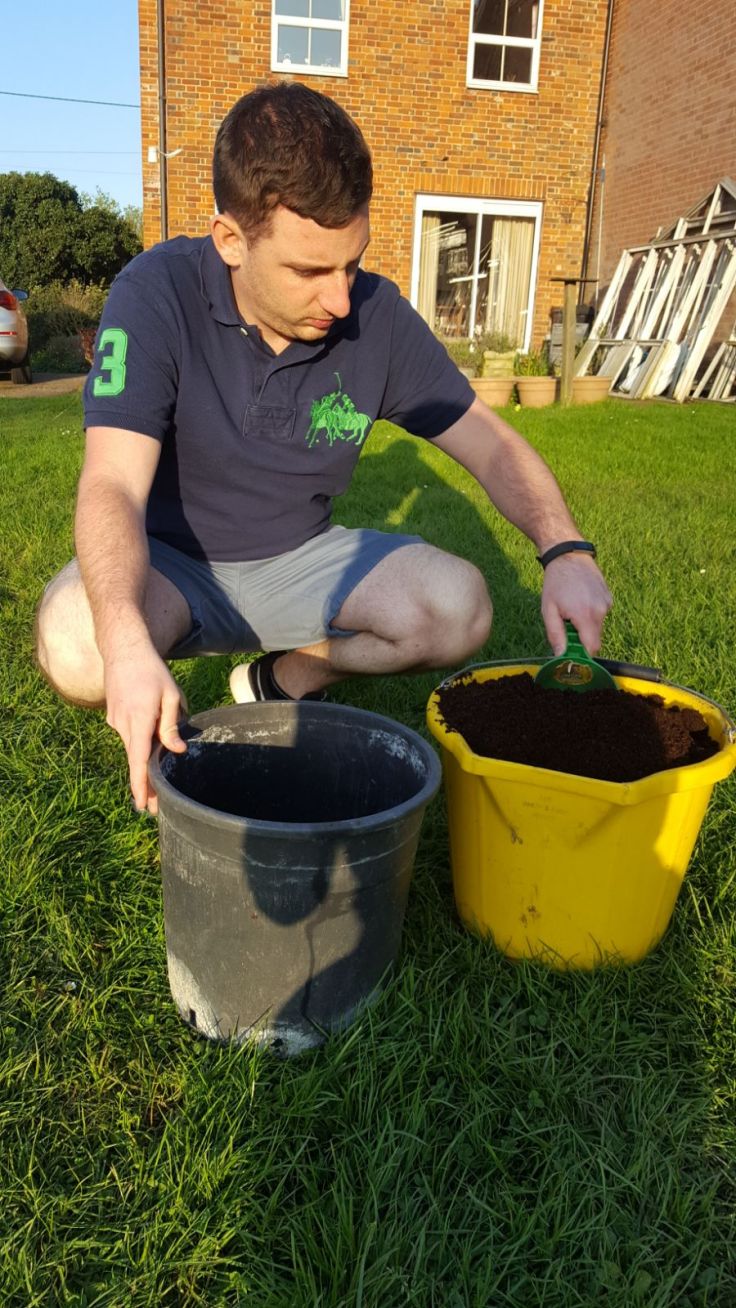
We put peat through a shredder in order to make it fine and to remove any clumps (or in other words – to aerate it).
Then, the pot is filled to a third of the way up with the aerated peat:
Give the pot a shake to level it out, and then place the seed potato (that has been chitted*)into the middle – leaving a single sprout facing upwards (as shown below):
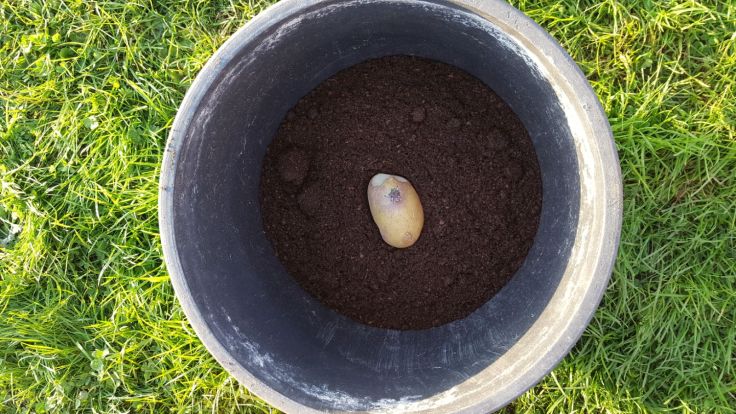
*Chitting is the process by which a potato is left in a cool, light place to encourage it to produce sprouts before planting.
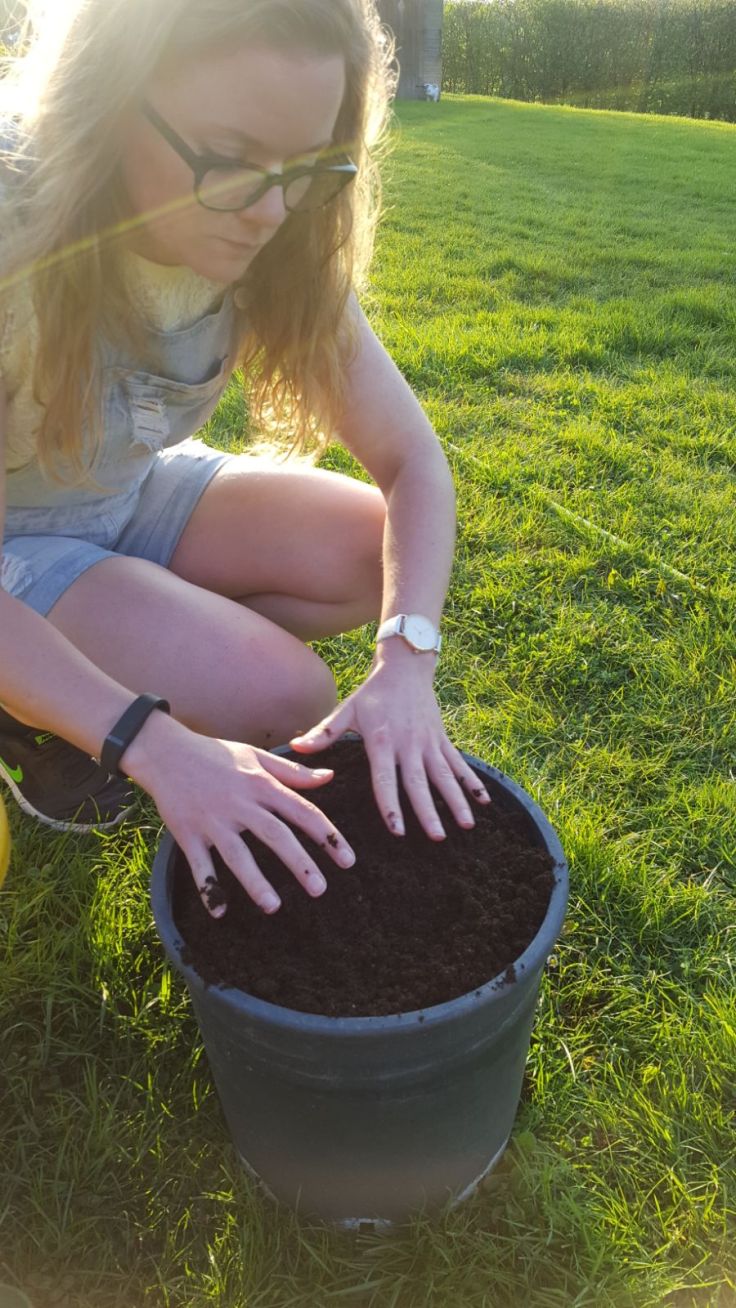
After that, fill the pot completely to the top and level it off:
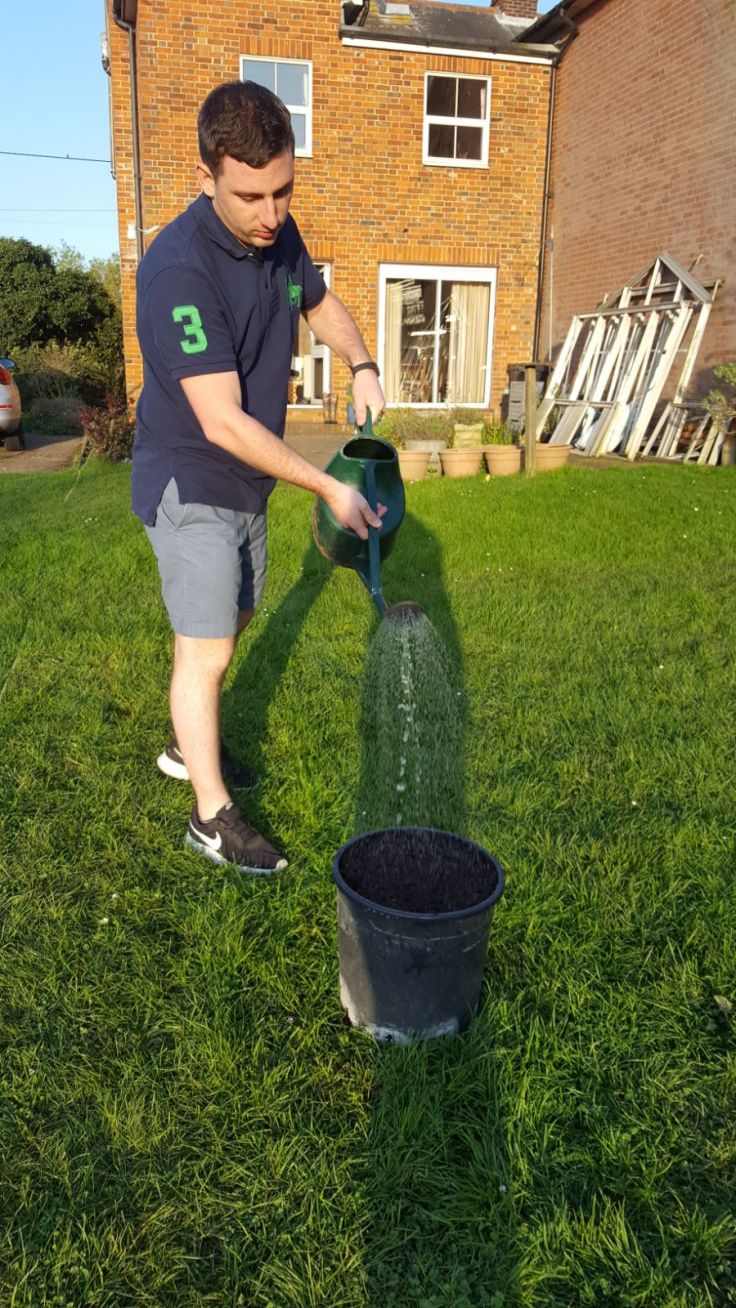
Give the pot a healthy dose of water (making sure to moisten the compost in the pot thoroughly), and leave somewhere sunny to let it grow 🙂
It’s worth adding that seed potatoes will more often than not have more than one sprout once they’ve chitted – so it’s just a case of removing all but one or two of the sprouts before planting it into the pot. The idea behind this is to get a larger crop of potatoes, as less time is wasted by the tuber in producing leaves (also known as haulms) and more time is spent producing potatoes.


Leave a comment